Creating and Installing Terminal Server Client
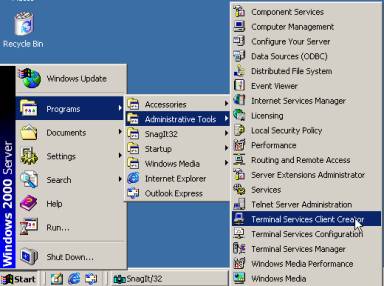
Creating Terminal Server
Client Disk
Installing Terminal Server
Client
Logging into the Web Server
with Terminal Server
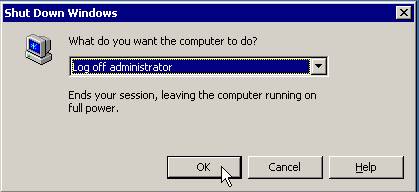
Logging off the Web Server
with Terminal Server
In Chapter 7 you will create the installation disks for
the Terminal Server service client.
After you have created the client installation disk, you will install
the client on your Windows workstation.
Terminal Server will allow you to work with your web server from a
remote location. This can be very
convenient if your server is physically located in a secured room away from
your work area.
Materials needed in this chapter
q
Two blank formatted 1.44 megabyte floppy diskettes
|
|
Creating and Installing Terminal Server Client |
|
|
|
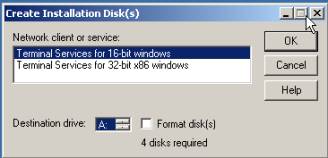
Creating Terminal Server
Client Disk
|
Terminal Server will allow you to administer the web
server from a remote PC. The
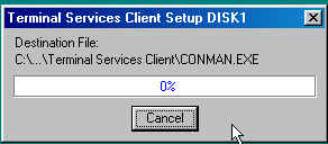
following directions will guide you through the process of creating client
disk, and installing the Terminal Service client on your workstation.
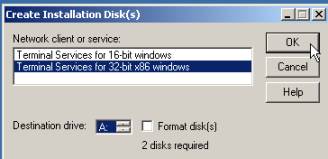
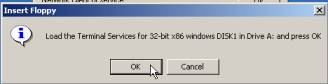
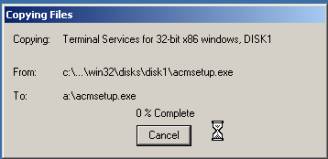
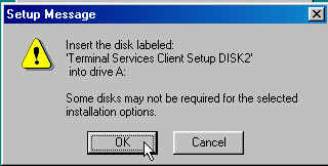
Note: You will need two 1.44 megabyte
formatted floppy diskettes to complete this chapter. Label these two diskettes: Terminal Services for 32-bit x86 Windows Disk 1
for disk 1 and Terminal Services for 32-bit
x86 Windows Disk 2 for disk 2. |
|
|
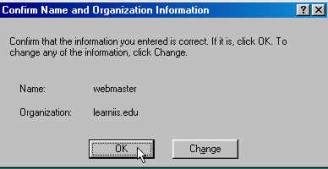
This task will be completed at the Microsoft Windows
2000 Server.
|
|
|
|
|
|
|
|
|
|
|
|
|
|
|
|
|
|
|
|
|
|
|
|
|
|
|
|
|
|
|
|
|
|
|
|
|
|
|
|
|
|
|
|
|
|
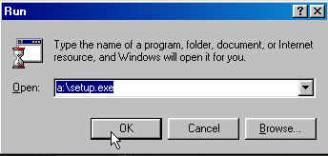
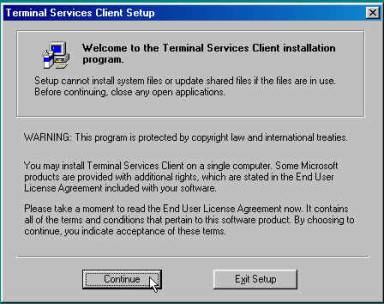
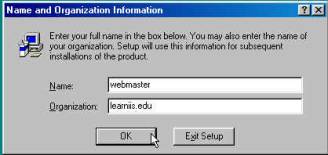
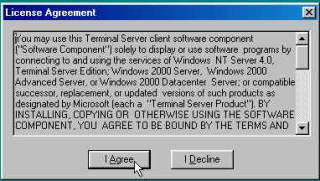
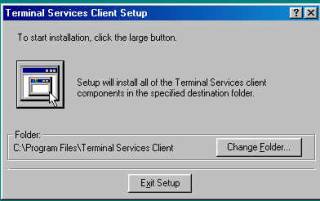
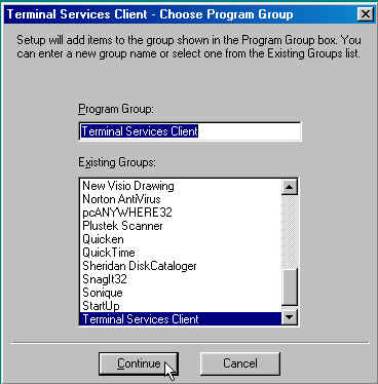
Installing Terminal Server
Client
|
Complete this task at your workstation.
|
|
|
|
|
|
|
|
|
|
|
|
|
|
|
|
|
|
|
|
|
|
|
|
|
|
|
|
|
|
|
|
|
|
|
|
|
|
|
|
|
|
|
|
|
|
|
|
|
|
|
|
|
|
|
|
|
|

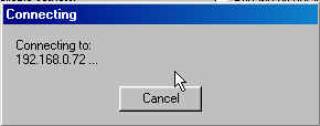
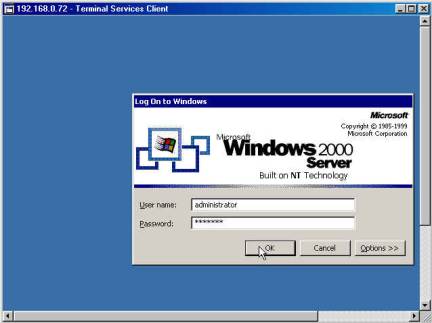
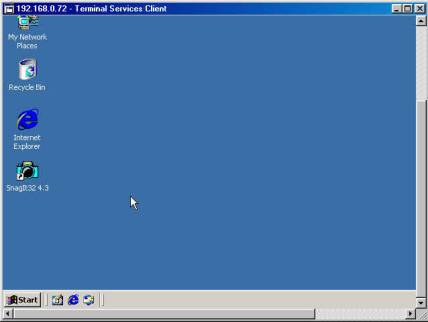
Logging into the Web
Server with Terminal Server
|
|
|
|
|
|
|
|
|
|
|
|
|
|
|
|
|
|
|
|
|
|
|
|
|
|
|
|
|
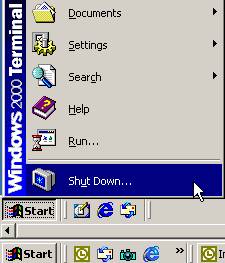
Logging off the Web Server
with Terminal Server
|
|
|
|
|
|
|
|
|
|
|