Creating Data Folders and Setting NTFS Security
Changing Permissions to the
Staff_Web Folder
In Chapter 5 you will create a set of folders that will
hold web data. After these folders are
created, you will set the permissions for these folders. Setting permissions allow you to control who
can and can not access folders.
Materials needed in this chapter
q
List of school sites in your district. (Production build
only)
q
Sample default page (Included on the CD)
|
|
Creating Data Folders and Setting NTFS
Security
|
|
|
|
|
|
|
|
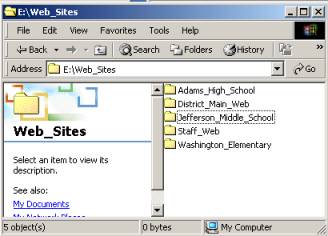
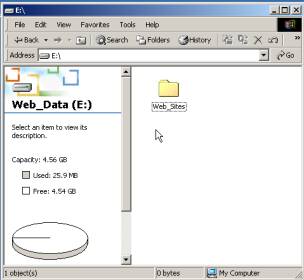
1.
Open the E drive that has been labeled
Web_Data. Create a new folder and
name this folder Web_Sites. |
|
|
|
|
|
|
|
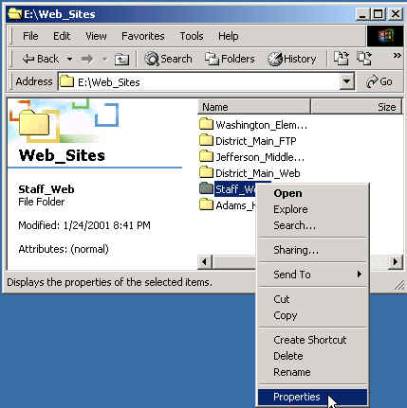
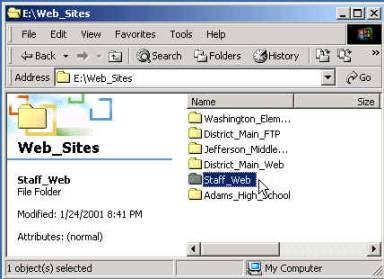
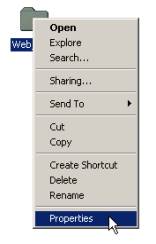
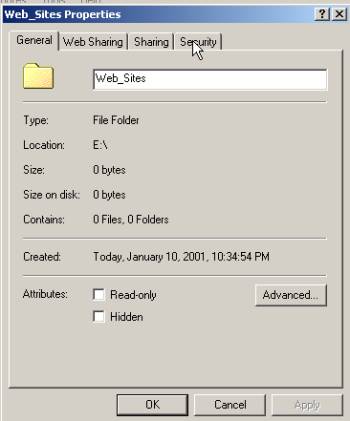
2.
Place the pointer over the Web_Sites folder. Right mouse button click: choose Properties. |
|
|
|
|
|
|
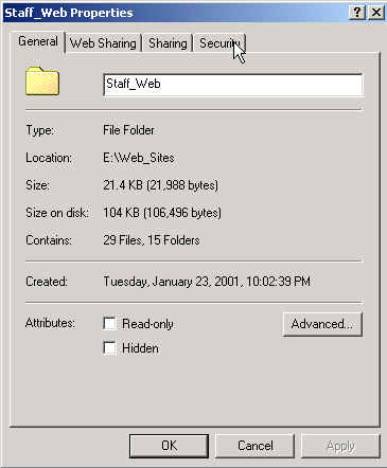
3.
Web_Sites
Properties / General tab: Click the Security tab. |
|
|
|
|
|
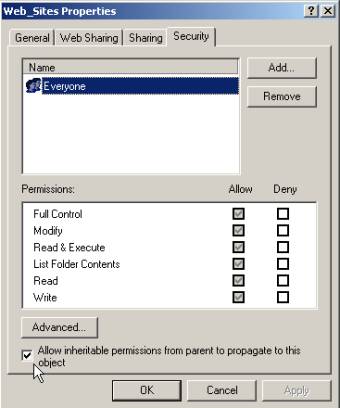
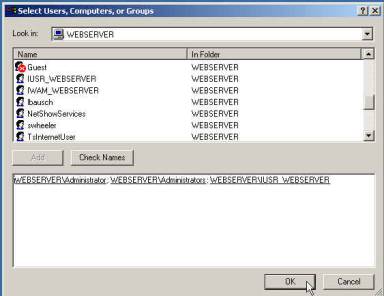
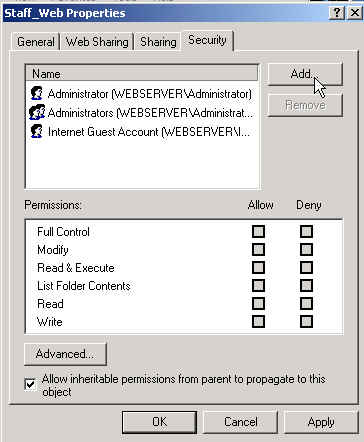
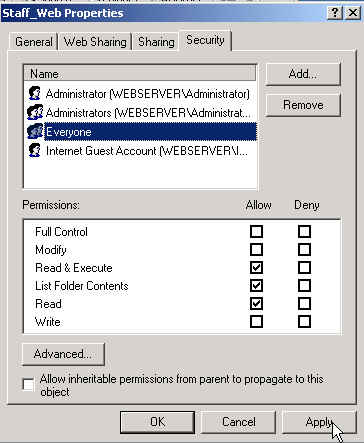
4.
Web_Sites Properties /
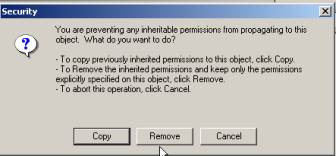
Security tab: Remove the check mark from the check box
in front of Allow inheritable
permissions from parent to propagate to this object. This
check box is located in the lower left corner of this window. |
|||||||||||||
|
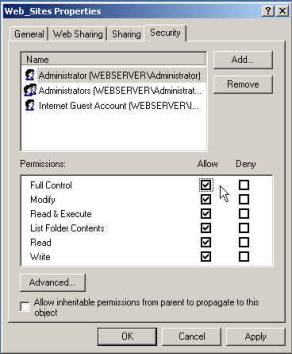
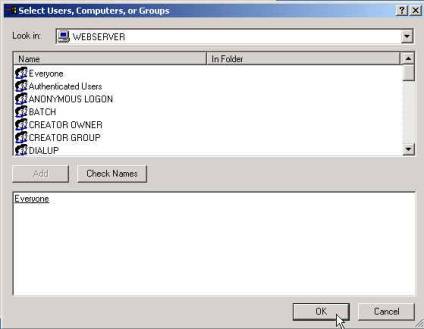
By default, Windows 2000 gives the Everyone group (any
user who logs into the machine) a security setting of full control over the
data in a folder. Any sub folder will
inherit the same security setting at the parent folder. Example: UserData/Teacher. The folder UserData is the parent
folder. Teacher is the sub
folder. Full control allows the user
to read data, change data and delete data.
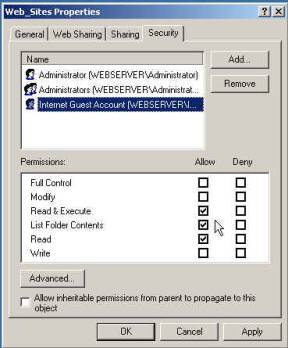
This can be problematic on a web server. Clearing the check box for Allow
inheritable permissions from parent to propagate to this object allows sub folders to have a different set
of security permission than the parent folder.
|
|
|||||||||||||