Chapter Ten (Optional)
Setting folder Permissions for
Data Access
Copying ASP Data into the
Staff Web Folder
Customizing the Staff_web.mbd
file.
Entering a staff member into
the database
Copying ASP Data into the
District Main Web Folder
Customizing the District_News
.mbd file.
The focus of Chapter Ten is the automation of a few pages
on your web server. Consider web pages for your staff. It is reasonable to have a page with the
links to each staff member’s web page.
It is also reasonable to have staff member’s web sites organized by
school. Imagine how much time it would
take to update these pages every time a new staff member’s web site is
added. These updates can be taken care
of through the use of Active Server Pages (ASP).
By following the procedures in this chapter, you will load
Active Server Pages that access a database, This same process can be used for
student web pages.
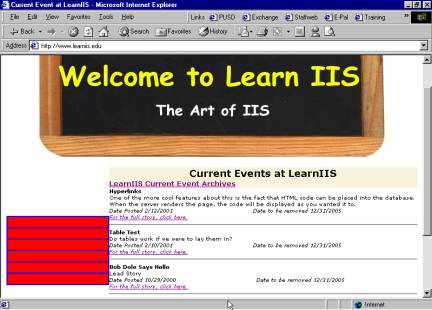
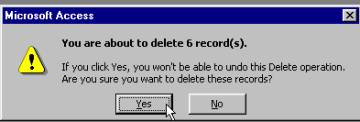
You may find it necessary to frequently update news or
other information on your districts home page.
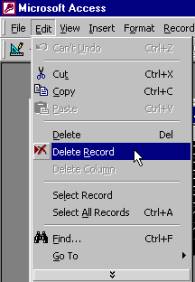
When this information becomes out-dated, it requires the webmaster to
physically remove the information.
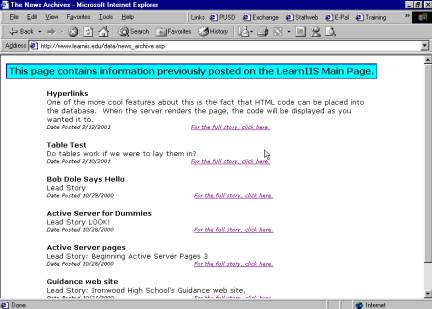
Additionally, this information must be moved to an archive location or
be permanently deleted. Through Active
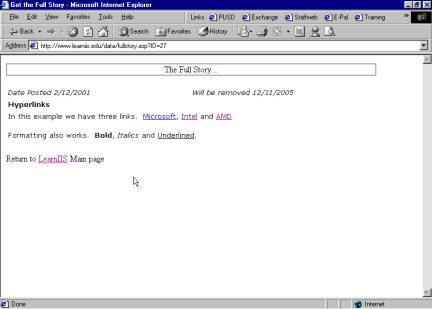
Server Pages, this information can be posted on the district home page. At a pre-determined date, the information
will be automatically removed from the home page and placed on an archive page.
By following the procedures in this chapter you will set
the folder permissions, copy the databases to the designated folder and create
DSN connections.
The two database files used in this chapter require Access
to 2000. If possible, I recommend
mapping into the E drive (web data drive) on your web server. If this is not possible, you will need to
install Access 2000 on your web server. It would be helpful to have a printer
available for printing forms or reports.
|
|
Activating Your Web Sites |
|
|
|
Setting folder Permissions for Data Access |
Your Active Server Pages will be driven from data
contained in a database file. This
file will be located on the same drive as your web data, however, it will
require different permissions than your web data folder. Note: You must log into the server as the administrator. |
|
|
|
|
|
1. Open the “E” drive (or the drive which
holds your web data) on your web server.
Create a new folder then name this folder Data_Bases. |
|
|
|

|
|
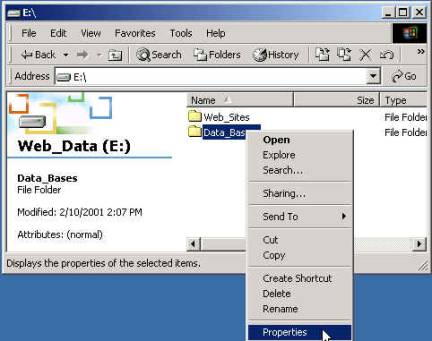
2. E:\ drive window: Place the pointer
over the Data_Bases folder. Right
mouse click, choose properties. |
|
|
|
|
|
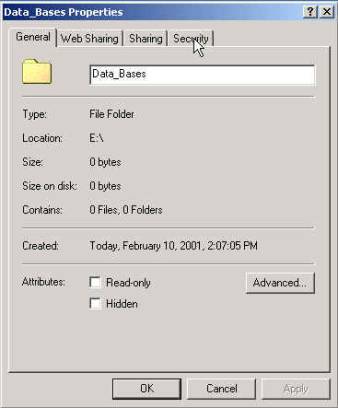
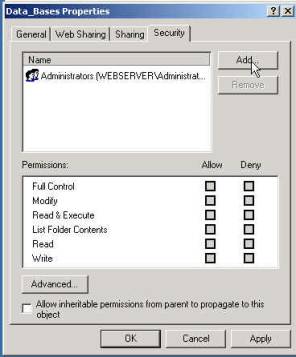
3. Data_Bases Properties window /General tab: Click the Security
tab. |
|
|
|
|
|
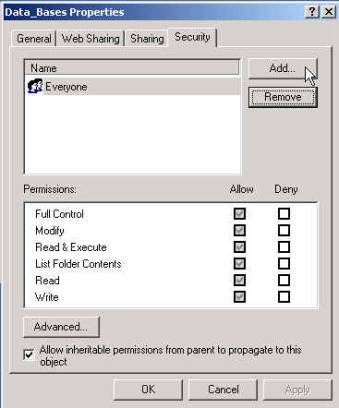
4. Data_Bases Properties window / Security tab: Click Add… |
|
|
|
|
|
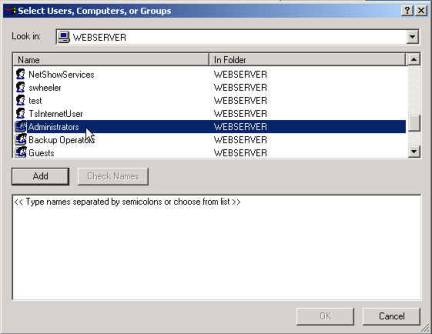
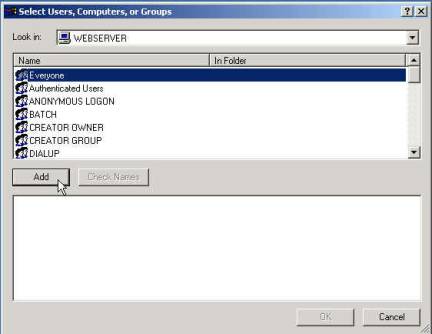
5. Select
Users, Computers, or Groups window: Scroll and select the Administrators
group. |
|
|
|
|
|
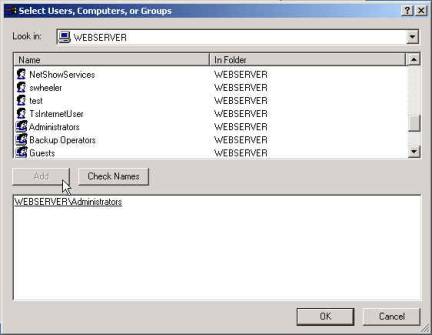
6. Select
Users, Computers, or Groups window: Click Add, click OK. |
|
|
|
|
|
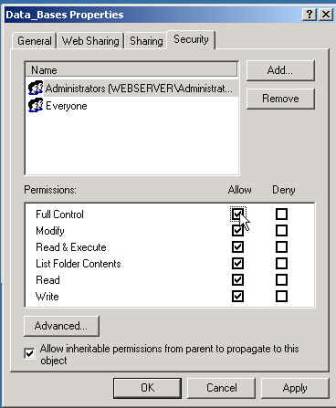
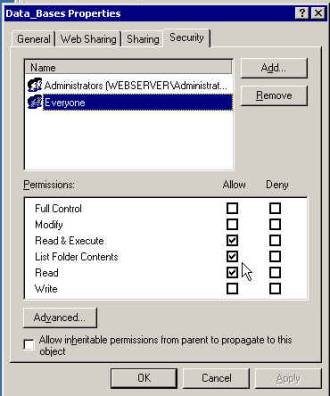
7. Data_Base
Properties window/ Security
tab: Place the check mark in the Full
Control check box under the Allow
column. The entire column will fill
with check marks. Click Apply. |
|
|
|
|
|
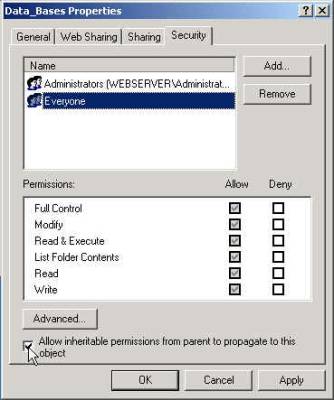
8. Data_Base
Properties window: Select Everyone in the Name
box. Remove the check box to the
right of Allow inheritable permissions
from parent to propagate to this object. |
|
|
|
|
|
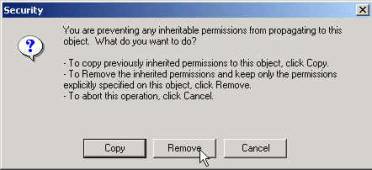
9. Security alert window:
Click Remove. |
|
|
|
|
|
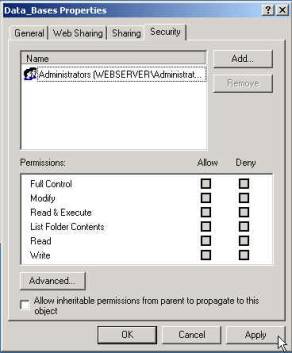
10. Data_Base
Properties window/ Security
tab: The Everyone group will be
removed. |
|
|
|
|
|
11. Data_Base
Properties window/ Security
tab: Click Add… |
|
|
|
|
|
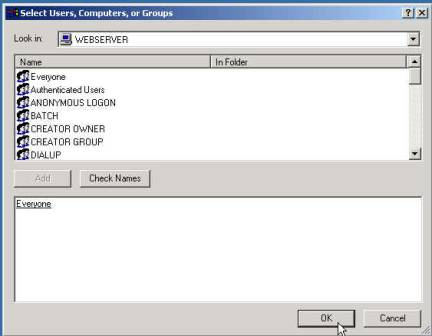
12. Select
Users, Computers, or Groups window: Select Everyone. Click Add. |
|
|
|
|
|
13. Select
Users, Computers, or Groups window: Click Ok. |
|
|
|
|
|
14. Data_Base
Properties window/ Security
tab: Click Apply, click OK. |
|
|
|
|
|
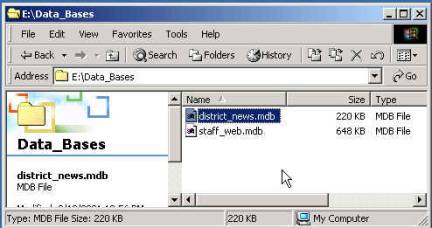
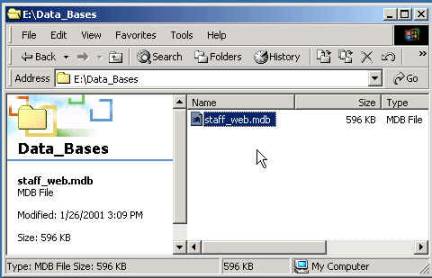
15. E:\Data_Base window: Copy the following file from the
Staff_Web_files folder located inside the ASP folder on the CD:
staff_web.mdb. Now, copy the
staff_web.mdb database file into the Data_Bases folder. |
|
|
|
Creating the Staff Web DSN |
|
|
|
1. Click Start, choose Programs, Administrative
Tools, and click on Data Sources (ODBC). |
|
|
|
|
|
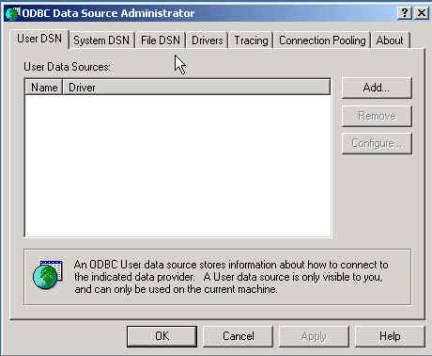
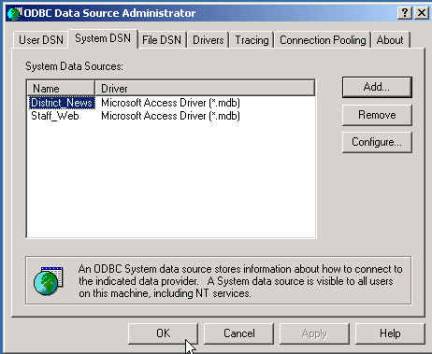
2. ODBC
Data Source Administrator window
/ User
DSN tab: Place your pointer
over System DSN tab then click. |
|
|
|
|
|
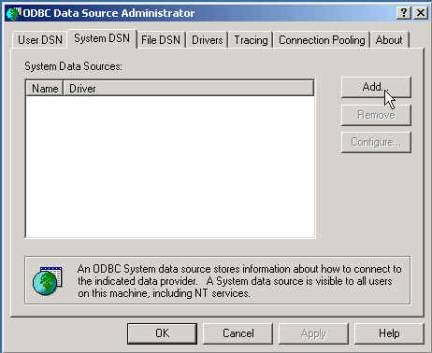
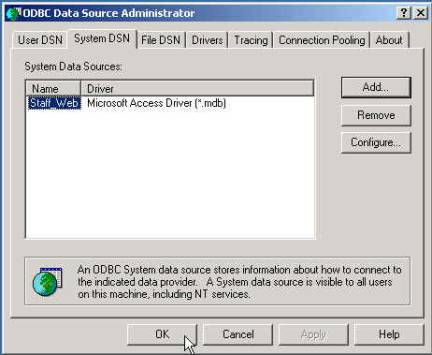
3. ODBC
Data Source Administrator window
/ System
DSN tab: Click Add… |
|
|
|
|
|
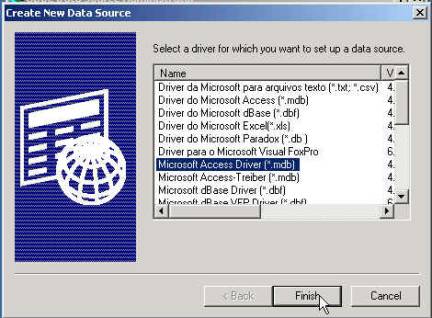
4. Create
New Data Source window: Select Microsoft
Access Driver (*.mdb) click Finish. |
|
|
|


|
|
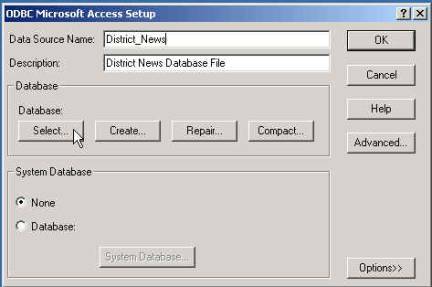
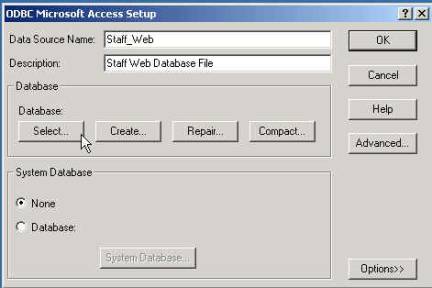
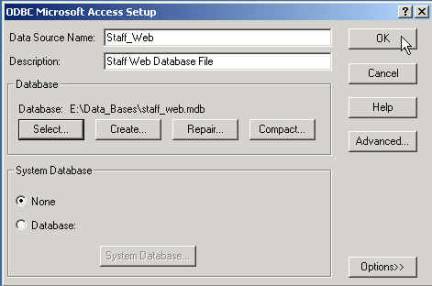
5. ODBC
Microsoft Access Setup window:
In the Data Source Name: field,
type Staff_Web. In the Description:
field, type Staff Web Database File. Click Select. |
|
|
|
|
|
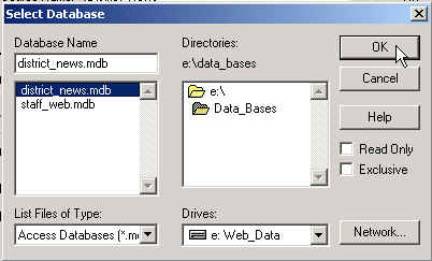
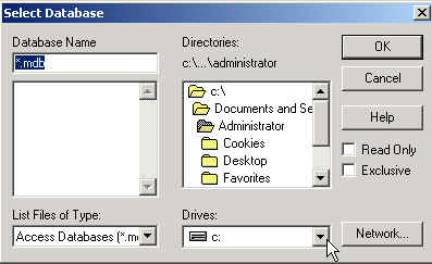
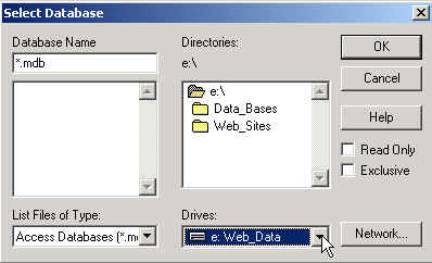
6. Select
Database window: Click
the down arrow under the Drives:
drop down box. |
|
|
|
|
|
7. Select
Database window: Choose e:
Web_Data. |
|
|
|
|
|
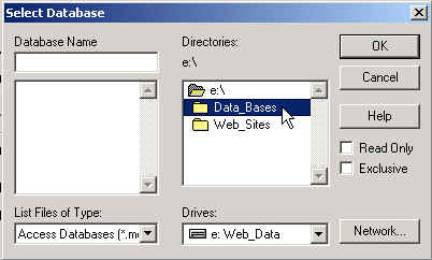
8. Select
Database window: Double click
the Data_Bases folder under the Directories scroll box. |
|
|
|
|
|
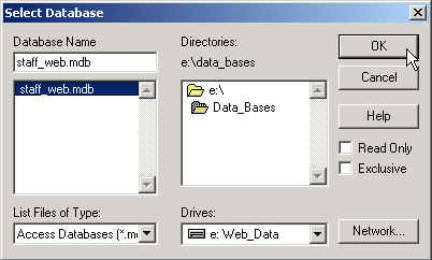
9. Select
Database window: Select staff_web.mdb
in the Database Name scroll box.
Click OK. |
|
|
|
|
|
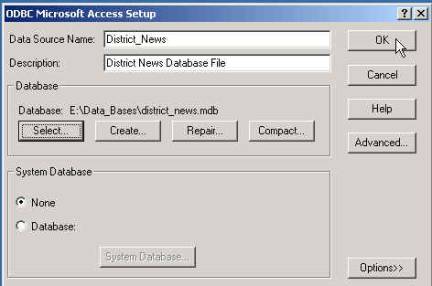
10. ODBC
Microsoft Access Setup window:
Click OK. |
|
|
|
|
|
11. ODBC
Data Source Administrator window
/ System
DSN tab: Click OK. |
|
|
|
Copying ASP Data into the Staff Web Folder |
You now have a connection
between the database and your server.
This will also allow you access this information through Active Server
Pages (ASP) In the next 2 steps, you
will copy the ASP files to your web server thus completing the connection between
the web page and the database. |
|
|
1. Copy the following files from the Staff_Web_files
folder inside the ASP folder on the CD: q
default.asp q
list.asp q
location.asp q
learniis_staffweb_banner.jpg Copy
default.asp, list.asp and location.asp to the root level of the staff_web
folder on your web server. Copy
learniis_staffweb_banner.jpg into the images folder on the web server. 2. Delete the default.htm file from the Staff_web
folder on your web server. |
|
|
|
|
|
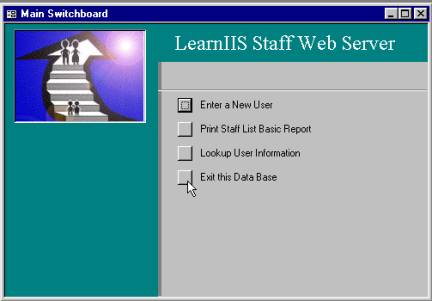
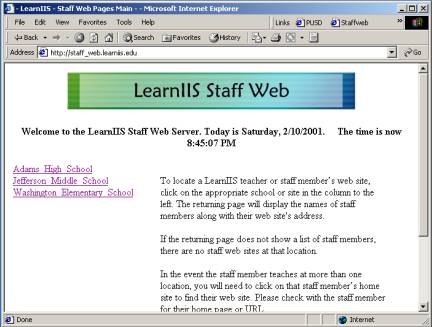
3. Open your web browser to your staff web
site. If this page loads, you are
successful. |
|
|
|
|
|
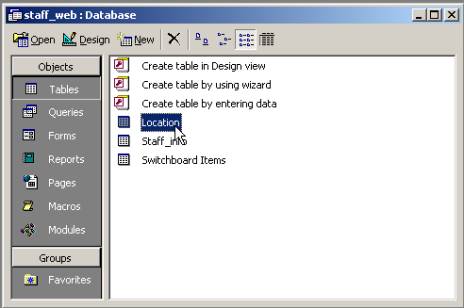
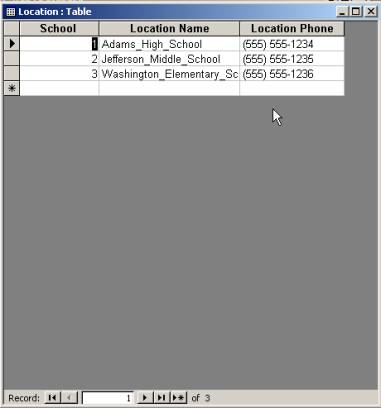
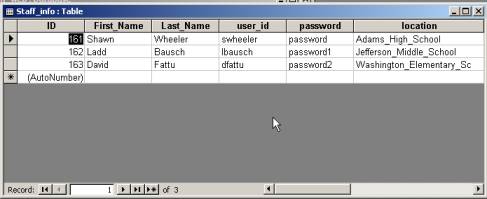
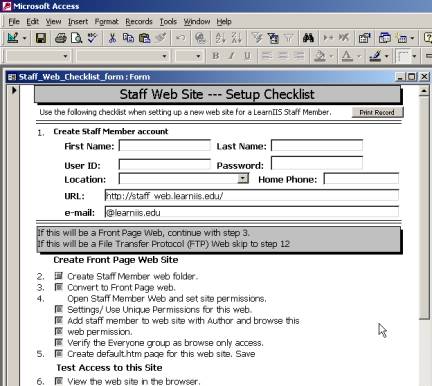
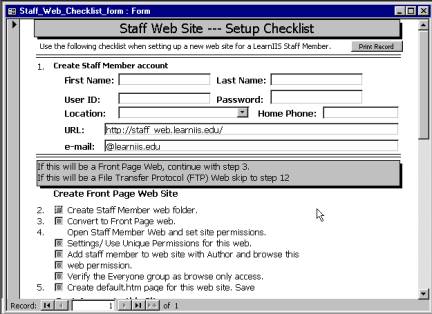
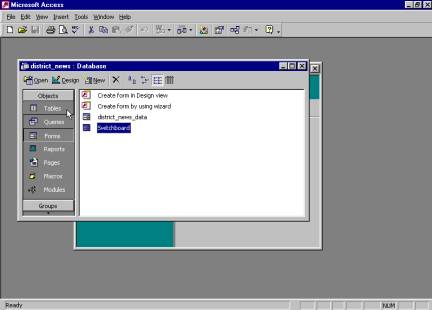
How this works: Very simply stated, the Staff_web.mdb file
is an Access 2000 database file that contains a list of Schools or locations
and a list of staff members who have web pages. These two tables are queried by the web page. The content of these queries are displayed
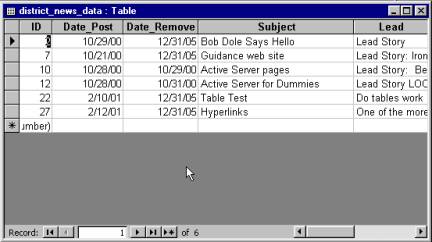
on the web page. Each time a new
staff member is added to this database, the web pages will show this change
the next time the web page is loaded.
The same is true if a new school or location is added to the database.
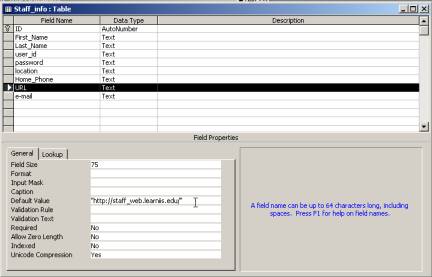
There are also several
changes to make on the default.asp file copied to the staff web folder. Those changes can be made using FrontPage.
Change LearnIIS to match your district.
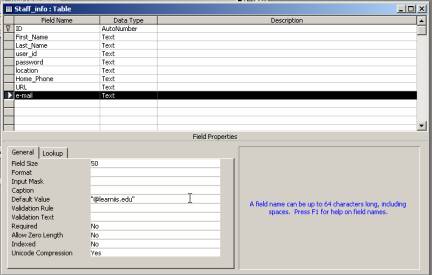
The webmaster e-mail link will need to be adjusted. You will want to change the graphic at the
top of this page. Be aware of the far
left table column. This holds the ASP
script. You will want to be careful
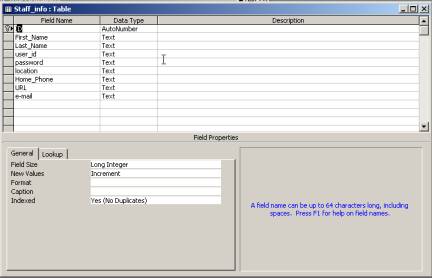
making changes to this area of the web page. There are a few changes
you will need to make in the Staff_web.mdb file to customize the information
to your site. Please follow the next
set of procedures. |
|
|
|
|
|
|
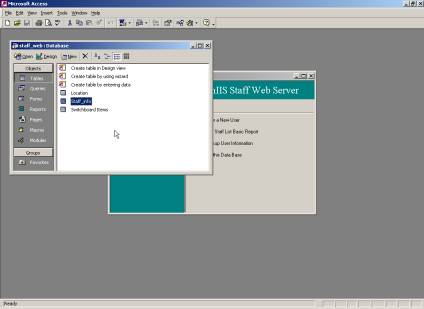
Customizing the Staff_web.mbd file. |
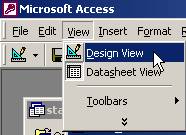
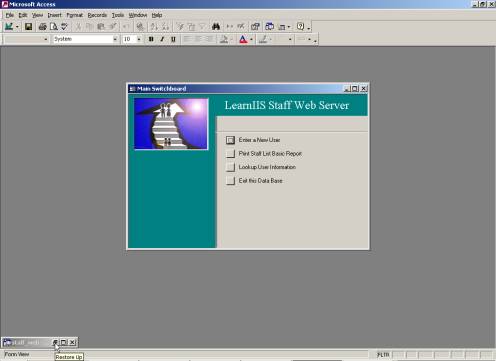
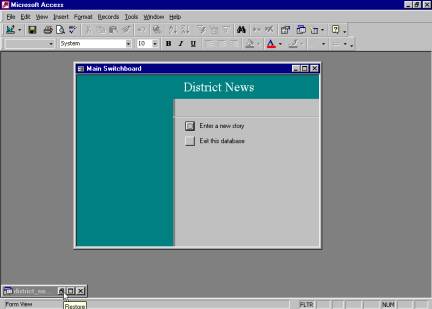
Double click the Staff_web.mbd
file located on the web server.
Note: Access 2000 must be
installed on the web server or your workstation must be mapped to the web
server’s hard drive that contains the file.
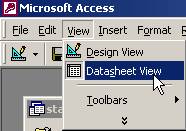
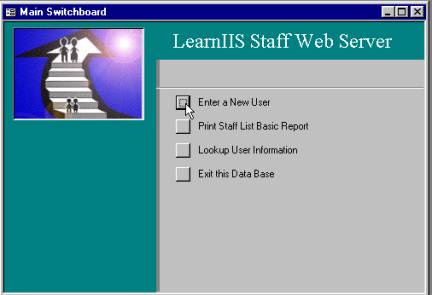
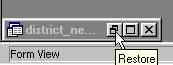
Your workstation must have Access 2000 installed. 1.
Microsoft
Access window / Staff_web.mbd file: Click the
restore box in the minimized staff_web database window. |
|
|
|
|
|
|